
Why Two Diamonds of the Same Carat Can Look Completely Different in Size
Two diamonds can carry the exact same carat weight on paper and still look dramatically different once set on a finger. Diamond Size Tricks exist precisely because carat measures weight, not the visible footprint your eye actually registers, and understanding this distinction is one of the most effective ways to stretch a jewelry budget without sacrificing visual impact. This guide breaks down exactly why this happens and how to use it to your advantage when shopping.
Why Weight and Apparent Size Tell Two Different Stories
A diamond’s carat weight measures mass, with one carat equal to 0.2 grams, and that’s it. It says nothing directly about how large the stone will actually look once it’s set and viewed from above. This distinction confuses even experienced shoppers, since carat weight gets treated colloquially as a stand-in for size when the two are only loosely related.
The actual visible footprint of a diamond, called its spread, depends on how that carat weight gets distributed across the stone’s dimensions rather than the weight figure itself. Two one-carat diamonds can have meaningfully different diameters depending entirely on how each stone was cut, which means relying on carat weight alone to predict how big a diamond will look is a genuinely unreliable shortcut.
This confusion isn’t accidental — carat weight is simple to state on a receipt and easy to compare at a glance, which is exactly why it became the default shorthand for size in casual conversation even though it was never designed to measure anything but mass. Retailers and buyers alike gravitated toward carat weight as a quick comparison tool long before more detailed measurements became standard practice, and that habit has proven difficult to shake even as buyers have become more educated about what actually drives a diamond’s visual presence.
Understanding this distinction early in the shopping process changes how you approach comparing stones altogether. Rather than asking “how many carats can I afford,” a more useful starting question becomes “how much visible size and sparkle can I get for this budget,” which naturally shifts attention toward the factors that actually control appearance rather than a single weight figure that only tells part of the story.
Understanding Diamond Spread: How Cut Proportions Affect Perceived Size

Spread refers to a diamond’s face-up surface area — essentially, how wide the stone reads when viewed from directly above, which is the angle that matters most for everyday visual impact. A shallow-cut stone spreads its weight across a wider top surface, making it look larger for its carat weight, while a deep-cut stone concentrates more of that same weight below the surface, in the pavilion, where it contributes nothing to what the eye actually sees.
This is where one of the most useful Diamond Size Tricks comes into play: a diamond cut with excellent proportions and a shallower profile can genuinely look bigger than a lower-quality stone of the same carat weight that was cut deeper to preserve weight rather than maximize visible spread. According to a well-cut 1.00-carat round with excellent proportions typically measures around 6.5 millimeters in diameter, while a poorly cut stone of the exact same weight can measure noticeably smaller, sometimes under 6.2 millimeters, purely because more of its weight sits hidden below the girdle.
Girdle thickness plays into this equation too. A diamond with an unnecessarily thick girdle carries extra weight in an area that becomes completely invisible once the stone is set in a mounting, meaning buyers can end up paying for carat weight that contributes nothing to the visible size they’re actually trying to maximize.
Depth percentage, calculated as the stone’s total depth divided by its average diameter, offers a useful shorthand for spotting this issue on a grading report before ever seeing the stone in person. A depth percentage that runs noticeably higher than the ideal range for a given shape is a reliable signal that more of the diamond’s weight is sitting in the pavilion rather than contributing to face-up spread, even before you look at exact millimeter measurements. Comparing depth percentage alongside table percentage, which measures the size of the flat top facet relative to the stone’s width, gives an even clearer picture of how efficiently a specific stone converts its carat weight into visible presence.
Diamond Size Tricks: Choosing Shapes That Look Bigger

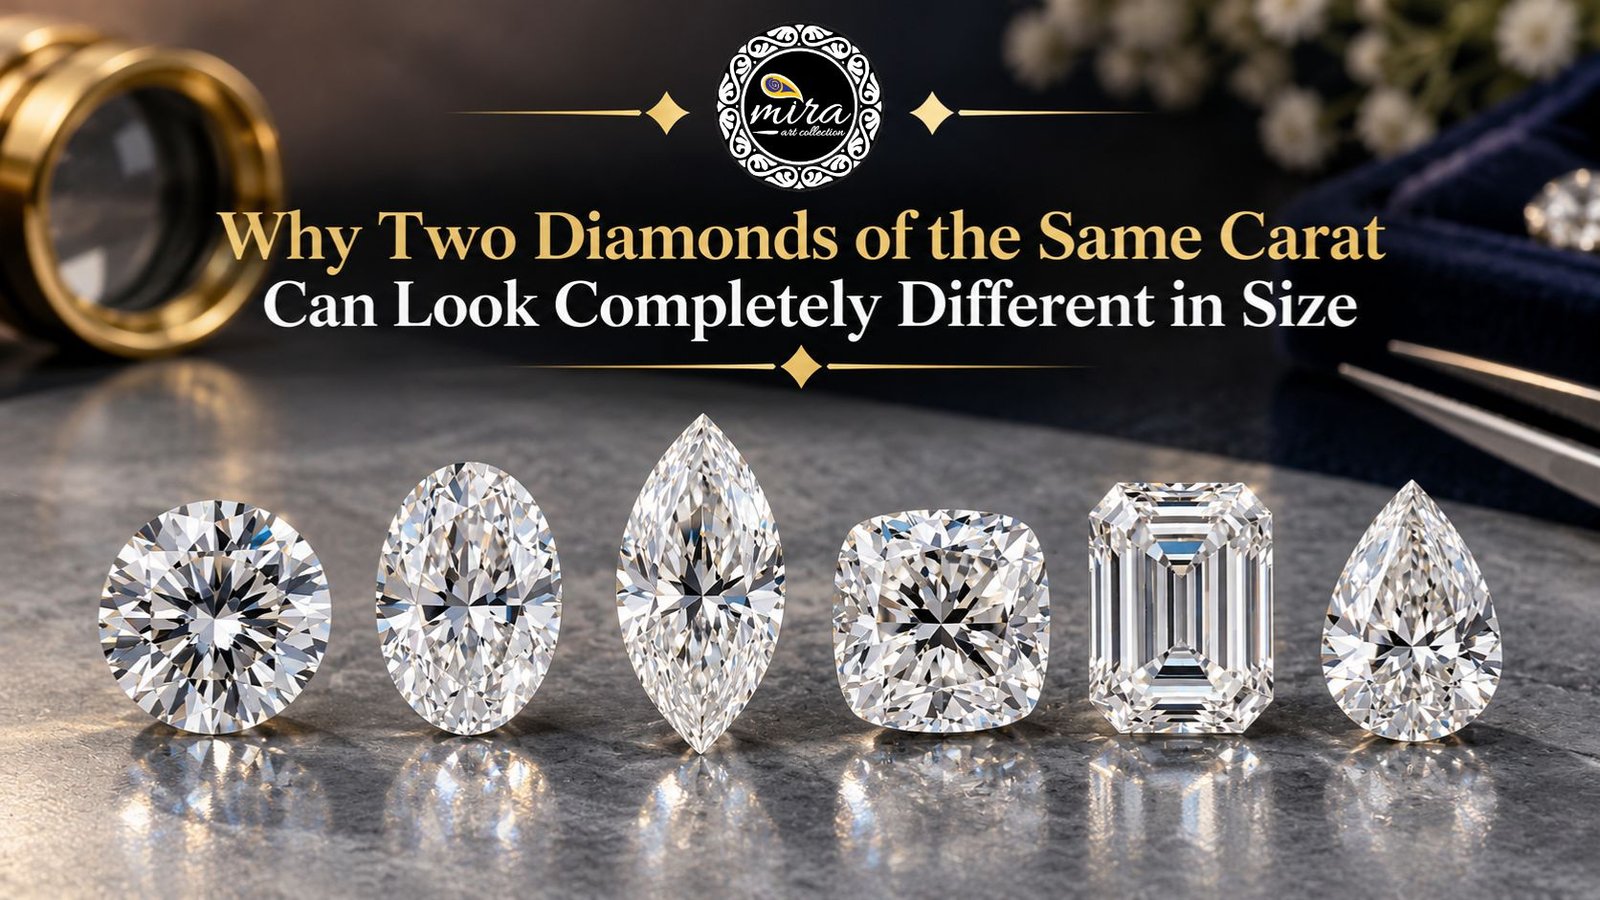
Shape is one of the single biggest levers available for maximizing visual size per carat, and it costs nothing extra to choose strategically. Elongated shapes — ovals, pears, marquise, and emerald cuts — consistently face up larger than round brilliants of the same carat weight, since more of their weight spreads across a longer outline rather than concentrating in a compact, circular footprint.
Marquise cuts in particular offer some of the most dramatic visual spread available, often appearing meaningfully larger than a round diamond of identical weight because their elongated shape maximizes length-driven surface area. Oval and pear shapes follow closely behind, both delivering substantial finger coverage while also creating a visually slimming effect that many buyers find appealing on top of the size advantage itself.
Round brilliants, while unmatched for symmetrical sparkle and light performance, generally have the smallest face-up footprint relative to their carat weight among common diamond shapes, since their compact circular outline concentrates weight rather than spreading it outward. This doesn’t make round diamonds a poor choice by any means, but buyers specifically prioritizing maximum visible size on a fixed budget should factor shape into the decision just as heavily as carat weight itself. According to GIA’s guide on ring settings that enhance diamond size, shape outline is one of several factors, alongside setting choice, that meaningfully influences how large a diamond appears to the eye.
How Cut Quality Changes Visual Size at the Same Carat Weight

Cut grade affects visual size even within the same shape and carat weight, which surprises many first-time buyers who assume carat alone tells the whole story. A diamond graded Excellent for cut typically achieves proportions that maximize face-up spread while still delivering strong light performance, while a diamond graded Good or Fair often sacrifices some visible spread in exchange for retaining more rough weight during cutting.
This is genuinely one of the more overlooked Diamond Size Tricks available to budget-conscious buyers, right alongside shape selection: comparing actual millimeter measurements between stones of the same carat weight, rather than assuming they’ll look identical, frequently reveals meaningful differences buyers can use to their advantage. A slightly lower carat weight stone with excellent cut proportions and superior spread can look just as large, or larger, than a heavier stone cut less efficiently.
It’s worth remembering that cut quality also affects brilliance and fire, not just spread, so a well-cut smaller stone often outperforms a larger, poorly cut one in overall visual impact, combining both size and sparkle rather than trading one for the other.
Setting Styles That Enhance Perceived Size
Beyond the diamond itself, setting choice offers several additional opportunities to maximize apparent size without spending more on the stone. A thin, delicate band creates visual contrast against the center stone, making it read as proportionally larger than the same diamond would appear in a thicker, heavier band that competes for visual attention.

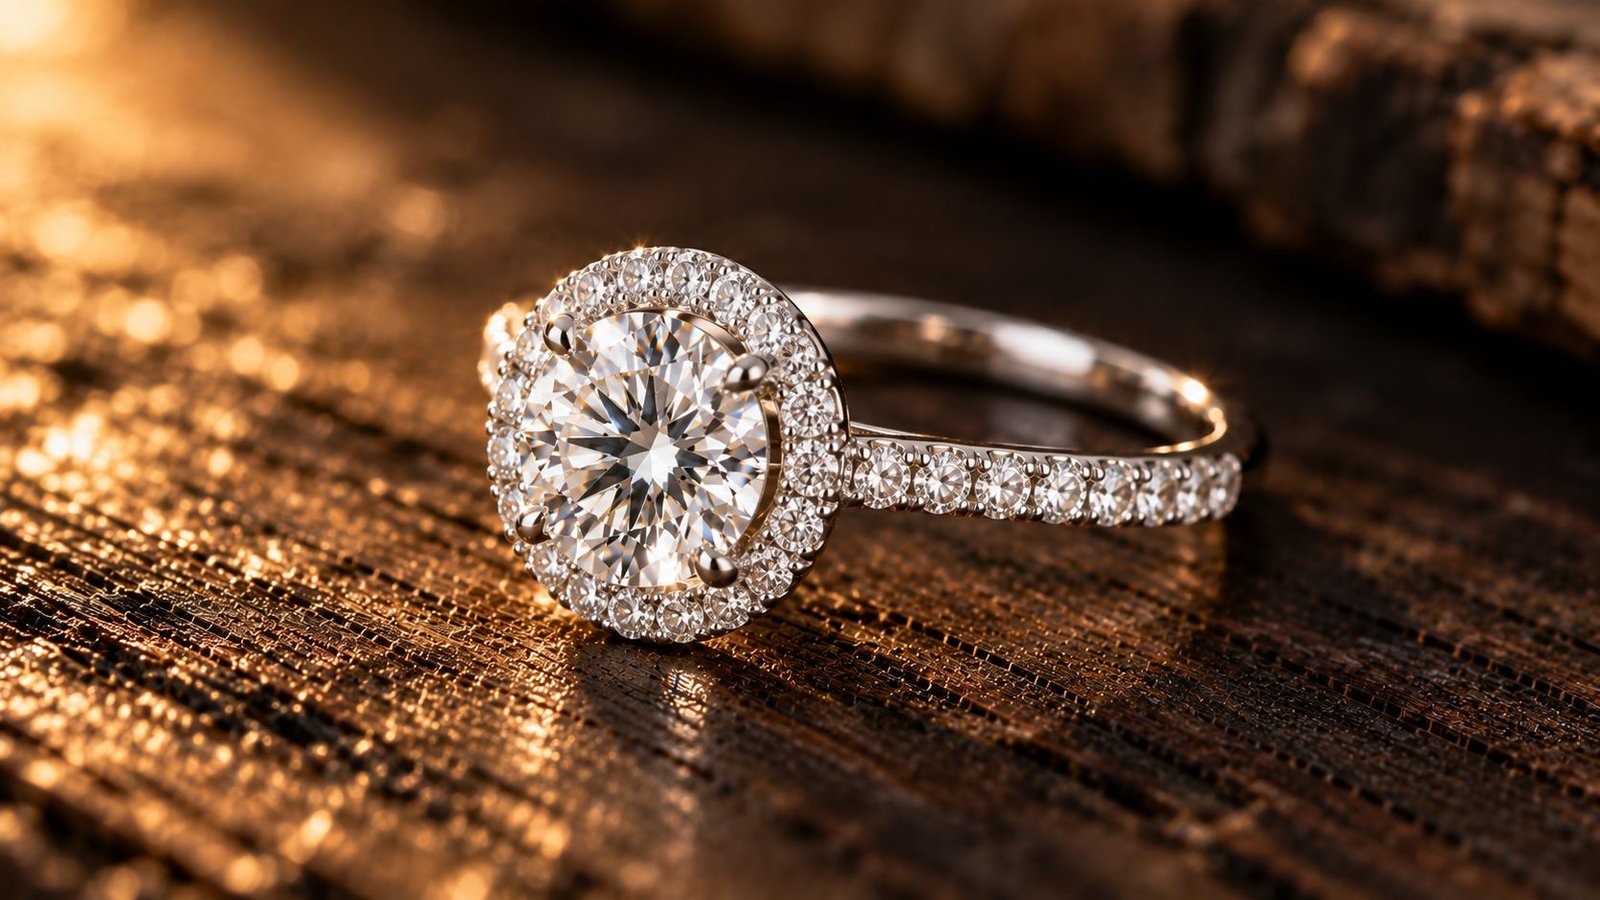
Four-prong settings expose more of the diamond’s surface area than six-prong settings, since fewer prongs mean less metal obscuring the stone’s outline from certain angles. Halo settings, which surround a center stone with a ring of smaller accent diamonds, can also enhance perceived size by extending the overall visual footprint of the ring, though this effect works by adding surrounding sparkle rather than technically increasing the center stone’s own dimensions.
It’s worth noting that not every popular setting choice reliably increases perceived size. Colored accent stones provide attractive contrast against a center diamond but don’t consistently make the center stone itself look larger, and an overly thick or ornate band can sometimes visually compete with rather than complement the center stone, undercutting some of the size-enhancing effect a simpler setting would otherwise provide.
Hidden Weight: What to Watch For When Comparing Stones
Hidden weight, one of the trickiest Diamond Size Tricks to spot without the right measurements, describes carat weight that exists in a diamond but doesn’t translate into visible face-up size, typically concentrated in an overly deep pavilion or an unnecessarily thick girdle. Buyers paying close attention to Diamond Size Tricks should specifically compare millimeter measurements, not just carat weight, when evaluating two stones that appear similar on paper.
A genuinely useful comparison example: a 1.9-carat diamond with excellent proportions and strong spread can look equal to or larger than a 2.0-carat diamond with mediocre proportions, while potentially costing meaningfully less due to sitting just under a popular round-number carat threshold where pricing tends to jump. Watching for stones priced just above these common thresholds, like 1.0, 1.5, or 2.0 carats, and considering a slightly lower weight with better cut quality instead, is one of the more reliable ways to capture real savings without sacrificing visible size.
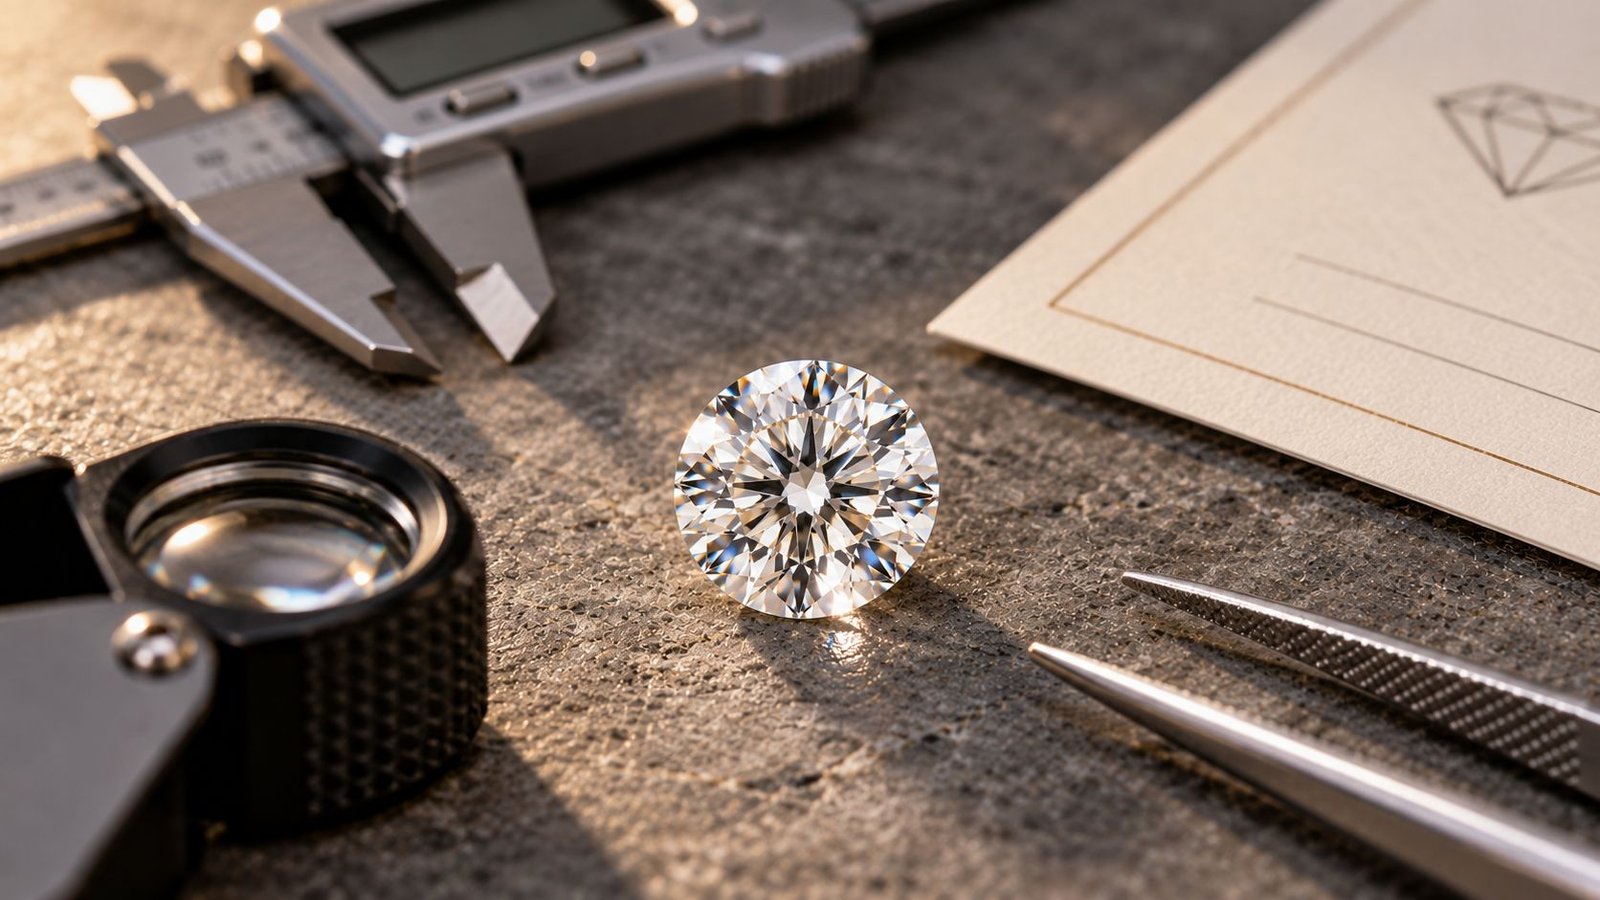
Requesting exact millimeter dimensions alongside the standard 4Cs information is a simple, free step that reveals far more about how a specific stone will actually look than carat weight alone ever can.
This same principle applies when comparing stones across different sellers, not just within a single jeweler’s inventory. Two sellers might list visually similar diamonds at noticeably different prices for reasons that only become clear once you line up carat weight, millimeter measurements, and cut grade side by side. Building a simple comparison table for the handful of stones you’re seriously considering, rather than relying on memory or a single number, makes it far easier to spot which option genuinely offers the best combination of visible size and value for your specific budget.
Diamond Size Tricks for Lab-Grown Diamonds Specifically
Lab-grown diamonds make applying these Diamond Size Tricks considerably easier in practice, since the significant cost savings compared to natural stones free up budget to prioritize cut quality and shape specifically for visual impact rather than stretching every rupee toward carat weight alone. Because lab-grown production starts with the same fundamental growth process regardless of intended final size — see our complete guide to CVD vs HPHT diamond growing methods for background on how these stones actually form — growers and cutters have considerable flexibility to prioritize excellent proportions without the scarcity pressures that sometimes push natural diamond cutting toward preserving weight over spread.
This flexibility translates into real, practical value for buyers. Where a natural diamond shopper might feel pressure to accept a deeper cut simply to hit a specific carat number within budget, a lab-grown diamond shopper working with the same budget can often afford to prioritize an elongated shape and excellent cut proportions instead, capturing meaningfully more visual size for the same spend.
Certification remains just as essential when applying these strategies to lab-grown stones. Always request a grading report confirming cut quality alongside carat weight, and don’t hesitate to ask for exact millimeter measurements directly, since these details matter just as much for a lab-grown diamond’s visual impact as they do for a natural one.
Because lab-grown supply has expanded rapidly across a wide range of shapes and sizes, buyers also have considerably more room to shop around and compare multiple stones side by side before settling on a final choice. This broader selection makes it genuinely practical to apply Diamond Size Tricks methodically — comparing spread, depth percentage, and shape across several similarly priced options — rather than settling for the first stone that fits a target carat weight, which was often the more limited reality when natural diamond selection and pricing constrained buyers more tightly.
Common Misconceptions
“A higher carat number always means a bigger-looking diamond.” Not necessarily. A well-cut, lower-carat stone with strong spread can look equal to or larger than a poorly cut, higher-carat stone.
“Round diamonds always look the smallest.” Round brilliants have a smaller face-up footprint per carat compared to elongated shapes, but they remain unmatched for symmetrical sparkle, which contributes to overall visual impact beyond raw size alone.
“Setting choice can’t actually change how big a diamond looks.” Thin bands, four-prong settings, and halo designs all genuinely influence perceived size, even though they don’t change the diamond’s actual dimensions.
“Buying just under a round-number carat weight means settling for a smaller-looking stone.” With excellent cut proportions, a diamond just under a popular threshold can look equal in size to a heavier stone while costing meaningfully less.
“Diamond Size Tricks are just marketing gimmicks.” These effects are grounded in genuine optical and geometric principles related to how weight distributes across a cut stone, not sales tactics designed to mislead buyers.
Diamond Size Tricks: A Practical Buying Checklist
Start by requesting millimeter dimensions for any stone you’re seriously considering, not just the carat weight and standard 4Cs. Compare these measurements directly against similar stones to identify which of these Diamond Size Tricks will help most in getting the best visible size for your budget.
Apply these Diamond Size Tricks by considering shape strategically if maximizing visual size matters to you. Elongated shapes like oval, pear, marquise, and emerald cuts consistently outperform round brilliants in face-up spread for the same carat weight, often at a lower price point per carat as well.
Prioritize cut quality over chasing a specific carat threshold. A well-cut stone slightly below a round number, like 0.9 or 1.9 carats, frequently delivers better visual impact and value than a stone cut deeper simply to reach 1.0 or 2.0 carats. Finally, choose a setting style — thinner bands, four-prong mountings, or a halo design — that complements and enhances your chosen stone’s visual presence rather than competing with it.
Final Thoughts
These Diamond Size Tricks come down to a simple but often overlooked truth: carat weight measures mass, not the visual size your eye actually perceives. By paying attention to spread, cut proportions, shape, and setting style rather than fixating on carat weight alone, buyers can genuinely stretch their budget further and walk away with a diamond that looks every bit as impressive as a far more expensive stone, without ever compromising on quality or certification.
Frequently Asked Questions
Disclaimer: Diamond pricing and proportion figures referenced in this article reflect general industry patterns and are provided for educational purposes only. Individual stones vary, so always consult a certified jeweler and request official grading reports and exact measurements before making a purchase decision.